

STEP 1Choose Your Options
Need help configuring your product or preparing your artwork?
10400, BANGKOK
Same Day Flyers
Format
Choose Format
Can't find the size you need?
Infos & Tips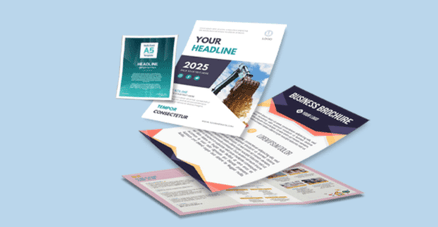 Need flyers in a flash? Our Same-Day Flyers printing service offer premium-quality printing with vibrant colors and crisp details, delivered to your doorstep in Thailand within 24 hours—ideal for time-sensitive promotions, last-minute events, or urgent marketing campaigns that require both speed and impact. Whether you're launching a new product or announcing an event, count on us for quick turnaround without compromising on professional results.
Explore our selection of standard sizes to customize your Same Day Flyers.
Need flyers in a flash? Our Same-Day Flyers printing service offer premium-quality printing with vibrant colors and crisp details, delivered to your doorstep in Thailand within 24 hours—ideal for time-sensitive promotions, last-minute events, or urgent marketing campaigns that require both speed and impact. Whether you're launching a new product or announcing an event, count on us for quick turnaround without compromising on professional results.Explore our selection of standard sizes to customize your Same Day Flyers.
How to choose the ideal size?
If you have a design, verify its dimensions using Adobe Acrobat’s 'Check Document Property' function; learn more here. Don’t have a design yet? Use our templates specifically tailored for the available sizes.Side of Print
Choose Side of Print
Infos & Tips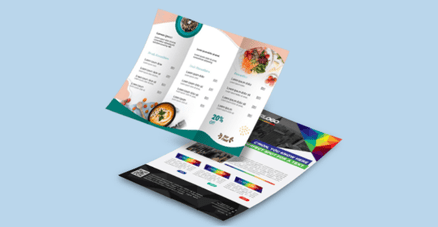 We offer single sided and double sided printing.
We offer single sided and double sided printing.Single sided or double sided printing?
We offer high quality flyer printing with both; single sided and double sided options. Single sided flyers are perfect for simple messages, while double sided flyers give you more space for details. We provide custom designs, premium materials, quick turnaround, and great prices to help your flyers stand out.Paper Type
Choose Paper Type
Infos & Tips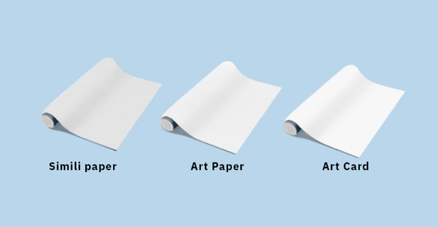 Discover our Art Paper Glossy material for a polished, high-impact finish.
Discover our Art Paper Glossy material for a polished, high-impact finish.Why is Art Paper Glossy perfect for you?
Explore our Art Paper Glossy material, ideal for projects that require a sleek and professional look. With its high-gloss surface, this material enhances the vibrancy of your prints, ensuring colors pop with clarity and depth. Art Paper Glossy offers excellent durability, making it ideal for posters, displays, and marketing materials. Its smooth finish delivers a premium touch while ensuring your designs stand out in any environment, providing a striking balance of style and functionality.STEP 2
Choose a Quantity & Delivery Date
Please select the price below to see the cutoff time.
Quantities
Receive your products by
100 pcs
200 pcs
300 pcs
500 pcs
1,000 pcs
Mon, 21 Apr
Fastest
Can't find the quantity you're looking for? You can add a custom quantity you want
Set Custom Quantity


